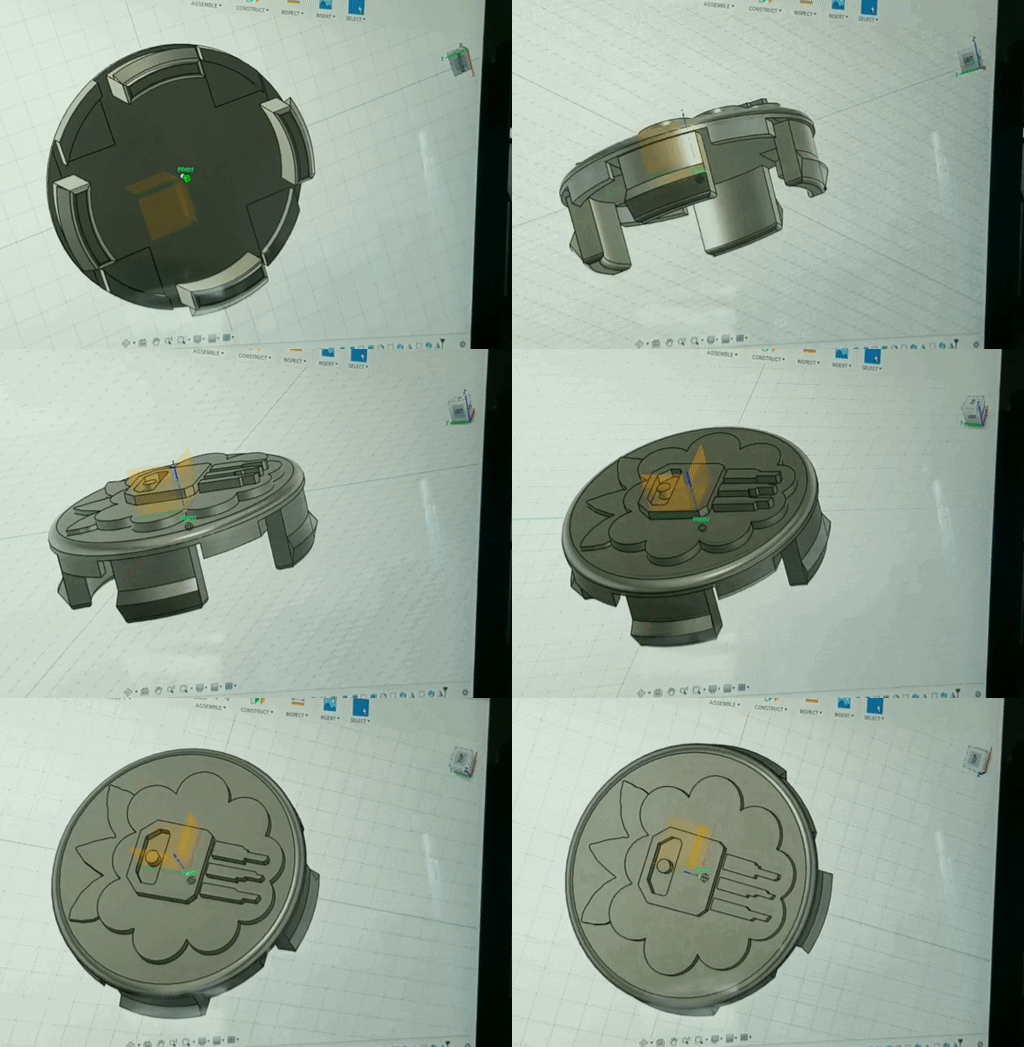
Custom Wheel Center Caps
This was my first ever detailed design. I started out having gunky old wheel center caps and wanted a way to make them my own. I removed one of them for research. Caliper in hand, I was able to recreate the shape of the clamps pretty darn close.
I first printed them in PLA and, as predicted, the clamps snapped right off when I tried to install them. I needed a way to make them tougher. Next attempt was ABS filament as it's known to be stronger and tolerates more heat. Florida summers are brutal.
Sounds a little dangerous, I'm in.
I researched ways that make 3D prints stronger and came across Acetone Vapor Polishing. Sounds a little dangerous, I'm in. So outside I go with a hot plate, goggles, gloves, and metal can. I swear my neighbors think I'm insane. Unfortunately I had to find a pretty inconspicuous place on the center cap that I could use as an anchor. I heated a piece of metal wire and seared it into the backside of the cap. Once the acetone was brought to a boil, I suspended the piece a few inches above the liquid and began "polishing".

Don't let the acetone hit the piece you're polishing.
It bubbles up and ruins your work. The first round took the longest but after a few minutes you'll notice the face closest to the acetone is essentially melting. This is good and bad. Leave it too long, and the original is unrecognizable. I experimented, checked it often, and eventually came out with a nice, slightly buttery, finish. I made sure to hit both sides to strengthen the clamps.

ABS install attempt successful.
Once the caps sat for 24 hours to harden, it was time to attempt installation. It was a little rough since the caps were now so rigid.
It's now a few years later and the center caps are still holding strong. They've survived many rounds of speeding. I've had no problems with them coming loose from my wheels at all.


